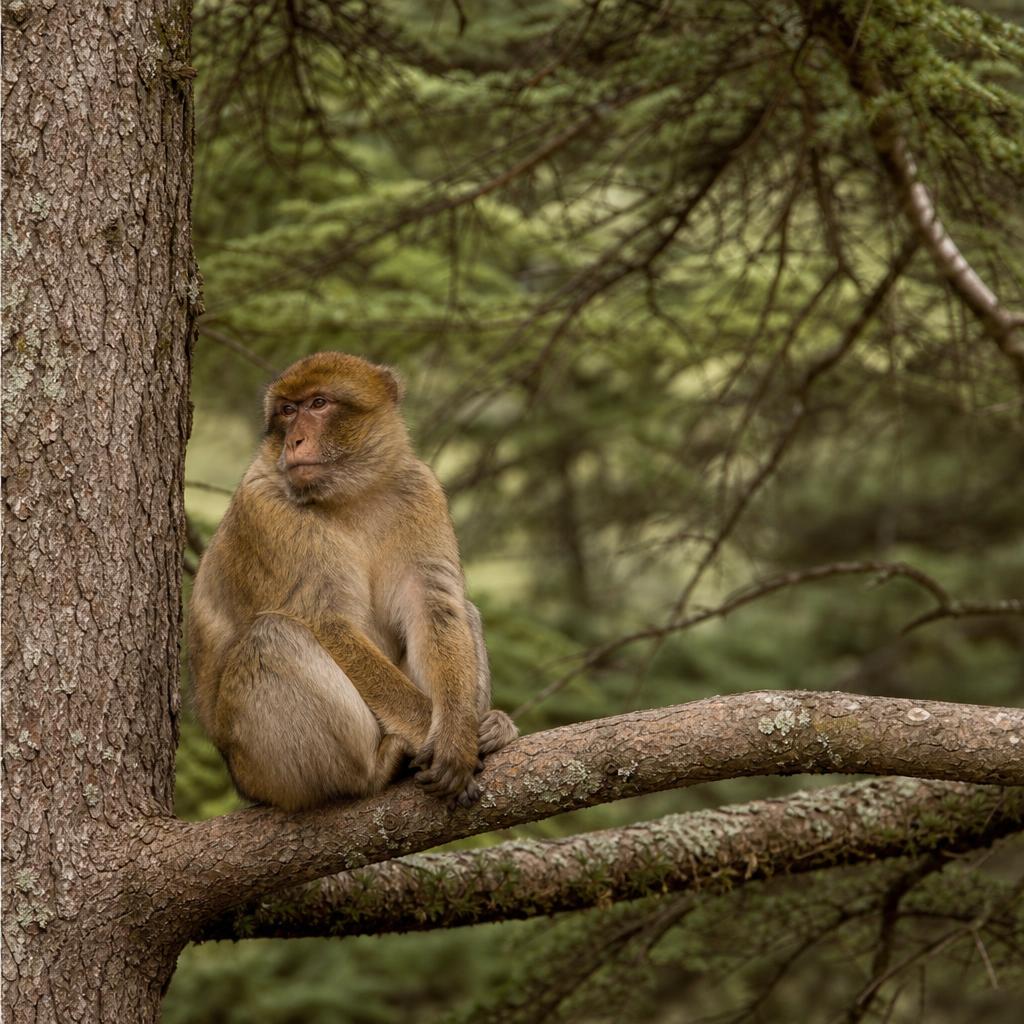
Why Distance Protects Both Animal and Image
The paradox of wildlife photography is that the photographers who crowd closest often get the worst images — stressed animals with flattened ears, tense posture, and eyes fixed on the intruder rather than engaged in natural behaviour. Macaques that have not been disturbed will groom, play, forage, and carry infants, producing far more dynamic and emotionally resonant images than an alert animal staring defensively at a camera six inches away.
Staying at a respectful distance also means you can observe the wider troop rather than fixating on one individual. Some of the most interesting macaque behaviour — juveniles play-wrestling, a mother redirecting her infant, a male displaying to establish status — happens across a spread of perhaps 20–30 metres of forest. You need a wide enough view to anticipate the action.
Lens Choice and Camera Settings for Forest Light
A focal length between 200mm and 400mm is the most practical range for macaque photography in the Azrou cedar forest. A 70-200mm f/2.8 or f/4 zoom covers most situations and handles the variable light under the canopy reasonably well. A 100-400mm or 150-600mm zoom gives more working distance but may hunt for focus in dappled shade. A telephoto prime lens — 300mm or 400mm — is excellent if you are comfortable with a fixed focal length. That said, a smartphone with a decent optical zoom can produce entirely worthwhile images if you position yourself thoughtfully.
Cedar forest light is patchy and contrast-heavy. Set your camera to a moderately high ISO (typically 800–3200 depending on conditions) to maintain a fast enough shutter speed (1/250s or faster) to freeze macaque movement. A wide aperture helps separate the animal from the busy background. Autofocus tracking modes designed for animals or erratic subjects will serve you better than single-point AF when a macaque moves quickly through branches.
- 200–400mm focal length covers most situations comfortably
- Shoot in aperture priority or manual with exposure compensation ready
- ISO 800–3200 is often necessary under dense cedar canopy
- 1/250s minimum shutter speed to freeze movement
- Animal-detection autofocus is useful if your camera has it
- A monopod is lighter than a tripod and steadier than hand-holding a long lens
Positioning and Working with a Guide
A guide who knows the local troops can position the group at angles where the light falls on the animals' faces rather than backlit through the canopy, and where the background is cedar green rather than a road or parked vehicle. They can also read the troop's direction of travel and move the group to a waiting position the animals will naturally approach, rather than following them in a way that increases pressure.
Avoid using flash in any wildlife situation. Even if your camera's built-in flash seems modest, it can startle an animal mid-movement and may temporarily affect their vision. Natural light is always preferable. If the light is simply too dark for a clean image, that is useful information about the limits of the encounter rather than a reason to compromise the animal's welfare.
After the Shot: Storage, Editing and Sharing Responsibly
When you post or publish macaque photographs, consider captioning them accurately. An image captioned 'playing with monkeys in Morocco' is more likely to attract imitative behaviour — visitors trying to recreate the same proximity — than one captioned 'observing Barbary macaques from a respectful distance in the Azrou cedar forest.' The stories images carry shape how others behave.
If you share photographs of the exact location where you found a troop, be aware that very specific geotags can concentrate visitor pressure at a single spot. Tagging the broader Azrou cedar forest area rather than a precise GPS coordinate is a minor but meaningful choice for a population that is already under habitat pressure.