Documenting Discovery Rather Than Posing for It
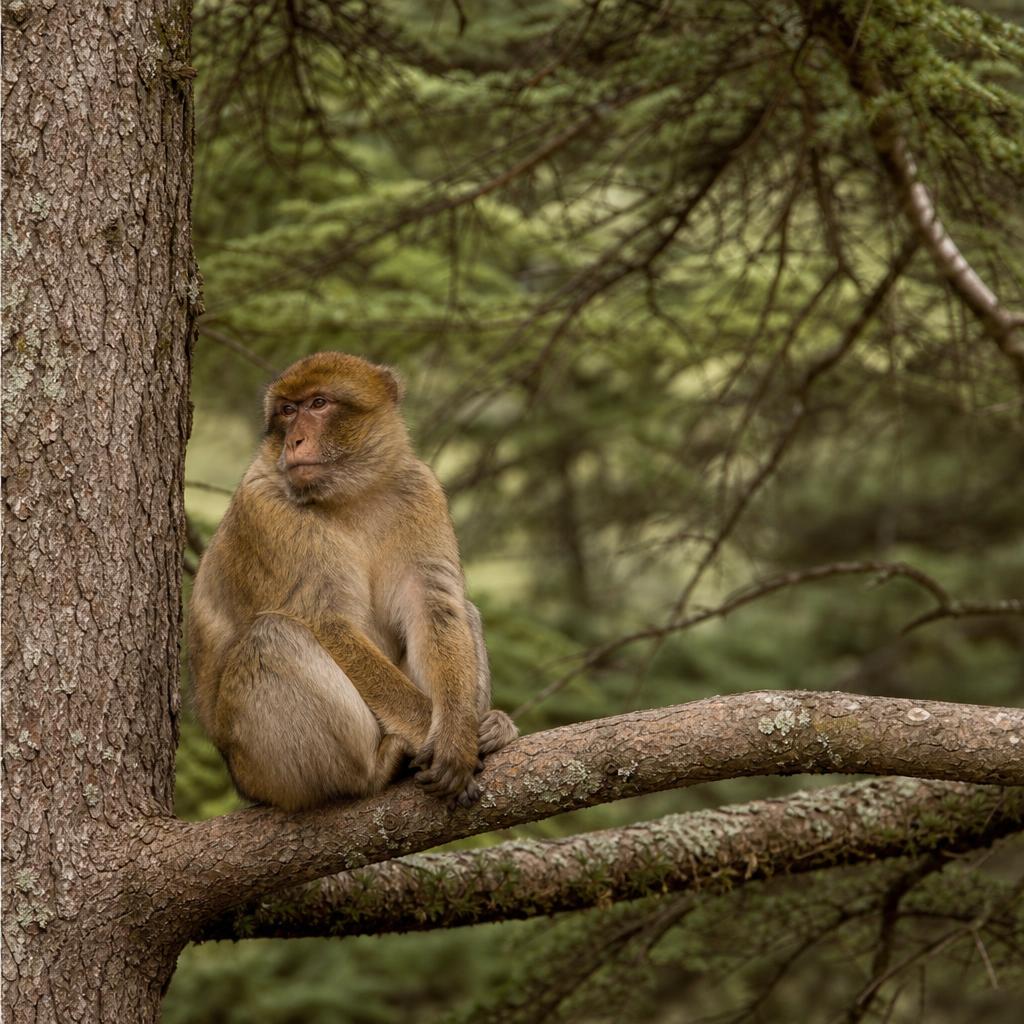
The most common mistake in family travel photography is stopping the experience to photograph it. When you ask everyone to look at the camera and smile, you interrupt whatever was actually happening — and the genuine moment you were trying to preserve disappears. The alternative is to stay slightly behind the group as they walk, anticipate moments of discovery (a child pointing at a macaque, two people sharing a view from a clearing) and photograph while they are still absorbed in the experience rather than aware of the camera.
This requires a different relationship with your camera: keeping it accessible, settings pre-adjusted for the available light, so you can raise and shoot within two or three seconds of noticing something worth capturing. The images that result look like a real family on a real walk, not a series of arranged photographs that no longer resemble the experience as it felt. Keep a mix of wide shots showing the group in their environment and tighter shots focused on a single face or gesture.
Light and Location Choices for Strong Family Images
Dappled forest light is appealing in theory but difficult to photograph in: it creates bright spots on faces and deep shadows in between, making exposures technically inconsistent. For family photographs in the cedar forest, look for small clearings or forest edges where the light is even — either in open shade (under a broad canopy with no direct sun hitting the ground) or at the edge of the forest where soft indirect light falls without hard shadows. Early morning and late afternoon light entering the forest at a low angle creates a warmer, more flattering quality for faces.
Include the environment in family photographs rather than zooming in so tight that the cedar forest disappears. A family group small within a frame dominated by two enormous cedar trunks communicates scale and place far more effectively than a close-up portrait with blurred green behind it. Use these wide environmental shots alongside closer images — the combination tells the complete story of your day.
- Open forest clearings give more even light than deep canopy shade
- Keep the camera accessible so you can shoot within seconds of seeing something worth capturing
- Photograph the group from a slight distance so the environment stays in the frame
- A 35 mm or 50 mm lens is flattering and unobtrusive for family travel photography
- Take more photos than you think you need — children in particular produce fleeting expressions
Involving Children Without Creating Pressure
Children often photograph better when they are given something to do rather than simply asked to stand still. Ask a child to show you something they found on the path, to point toward a sound they heard, or to look for the highest branch they can see. These small prompts create natural movement and genuine expression without being staged. The child's attention is on the task rather than on the camera, and their natural concentration or delight translates into photographs that look real because they are.
For very young children, the forest environment itself tends to produce strong reactions — interest, wonder, mild apprehension, delight — that make natural photographs easier to take than in more familiar settings. Be ready to photograph transitions: getting on or off a parent's back, crossing a stream on stepping stones, crouching to examine something at ground level. These transitional moments are visually interesting and emotionally truthful in a way that static smiling poses rarely are.
Editing and Preserving Your Family Forest Photographs
Family travel photographs benefit from consistent, natural editing rather than heavy filtering. For cedar forest images, a modest lift in shadows (opening up darker areas around faces), a slight warm shift to the midtones, and careful noise reduction on ISO-elevated shots is usually all that is needed. Avoid heavy skin smoothing or artificial HDR effects on faces — these look immediately processed and age poorly compared to clean, natural edits.
Create a dedicated folder for your Azrou family photographs immediately after the trip, before they get buried in a general camera roll. Curate ruthlessly: for most families, thirty to forty excellent images from a full day is more valuable than five hundred mediocre ones. Make a physical print book from the best ten to fifteen — printed photographs of family travel are consistently the images that family members return to with most pleasure over time.