Why Overcast and Rain Improve Certain Subjects
Direct sunlight creates harsh shadows and blown highlights, particularly in forest environments where the contrast range already challenges sensors. Overcast cloud acts as a giant softbox, diffusing light evenly across the scene and eliminating the hard shadows that complicate exposure. In practice, this means bark textures, lichen, moss and forest floor details all photograph more accurately in flat cloudy light than in direct sun. Colours read more naturally, dynamic range is manageable, and you can photograph in any direction without fighting the sun position.
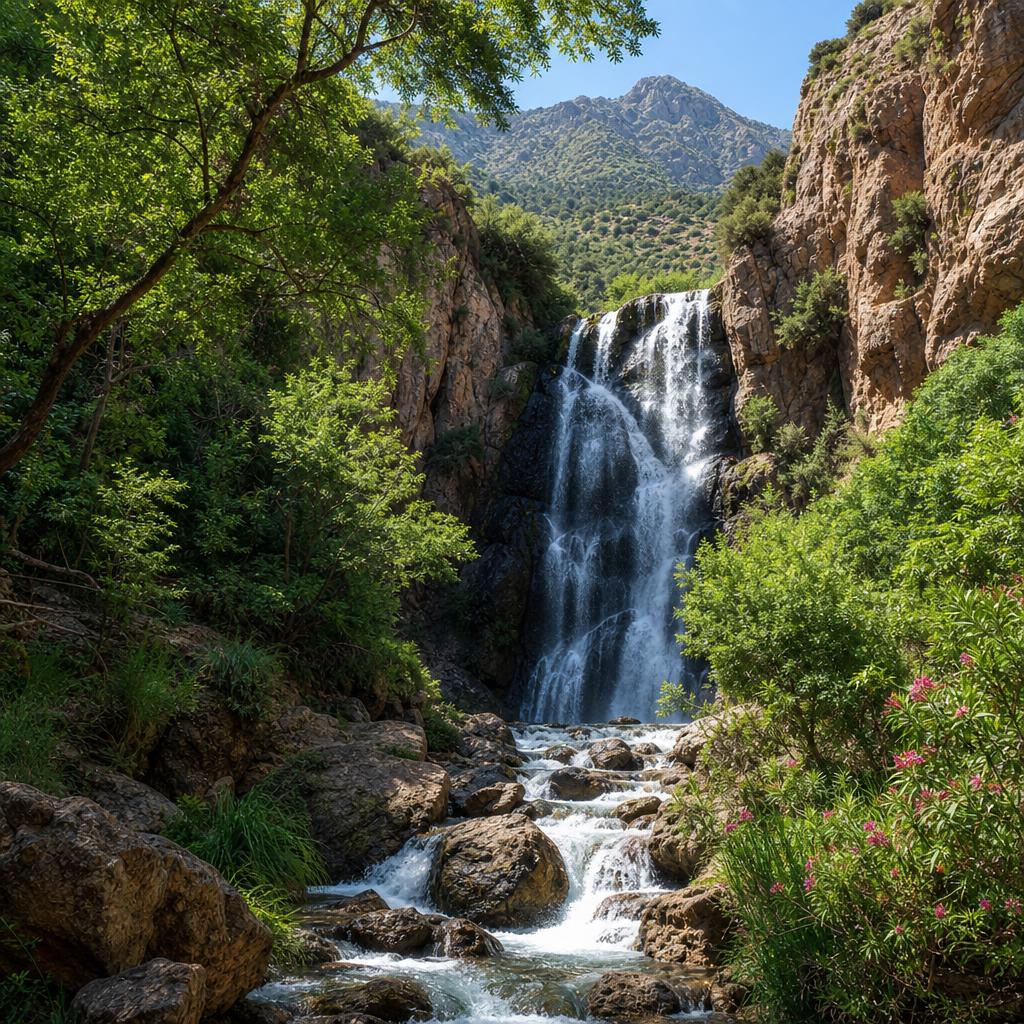
Rain itself adds new subjects: the pattern of drops on a still pool, water running along cedar bark channels, mushrooms and fungi that appear quickly after a wet period, the heavier flow of seasonal waterfalls. Morocco's Middle Atlas waterfalls run most actively after rainfall, and if your visit coincides with a wet period in late spring or early summer, waterfall photography specifically is significantly more rewarding than it would be on a dry day in late summer. Always verify current waterfall conditions and trail safety with your guide before heading out in or after heavy rain.
Protecting Your Gear in Wet Conditions
Moisture is the most common source of camera damage in forest environments. A basic rain sleeve (a light plastic cover that fits over your camera and lens while still allowing operation) costs very little and dramatically reduces risk during light rain. Many cameras marketed as weather-resistant offer genuine protection against light rain but are not fully waterproof — do not test the limits of a weather-sealed camera unnecessarily. Phones are generally less water-resistant than their IP ratings suggest under sustained exposure; use a zip-lock bag as a simple rain cover when holding your phone in steady rain.
Condensation is a subtler risk than direct rain. When you bring a cold camera in from the forest into a warm vehicle or room, the temperature change causes moisture to condense on cold surfaces including the sensor and inside the lens. Allow the camera to warm up gradually inside your bag before opening it — or allow the bag to reach room temperature before removing the camera. A small silica gel packet inside your camera bag absorbs residual moisture over time.
- A simple rain sleeve is inexpensive and fits any camera bag
- Keep a dry microfibre cloth accessible for wiping the front element quickly
- Store in your bag between compositions rather than hanging the camera in the rain
- Dry all gear thoroughly at the end of each day in a warm, ventilated space
- Check waterfall trail safety with your guide after any significant rainfall — conditions change quickly
Composition for Wet Conditions: Reflections and Saturation
Wet forest paths create reflective surfaces that duplicate the canopy above and add depth to compositions that look static in dry conditions. Position your camera very low — lying flat or on a small bean bag — so that the reflected image occupies the lower third of the frame while the actual trees fill the upper portion. This works particularly well with rain pools on open paths or small puddles among the cedar roots. The reflection does not need to be a perfect mirror; a slightly blurred, impressionistic version can be more visually interesting than a precise copy.
Saturated colour is another rainy-day asset. The greens of the cedar forest become more vivid when wet, the earth tones of the paths deepen, and any lichen or moss turns from dull grey-green to vibrant emerald. A circular polarising filter reduces surface glare and enhances colour saturation in wet conditions without artificial post-processing. If you do not have a polariser, you can achieve a similar effect in post by increasing colour saturation selectively on the green and yellow channels after reducing highlights.
Planning a Flexible Wet-Day Itinerary
On days when rain is consistent, concentrate your forest photography in the first hour or two after the rain eases — the forest is still dripping, puddles are fresh, and mist may be rising from the canopy. This is often the most atmospheric period for Middle Atlas photography, lasting only thirty to ninety minutes before the light changes as the sky partially clears. Being positioned and ready when this window opens means you capture the conditions rather than reacting to them.
A flexible, guide-led itinerary works better on rainy days than a fixed schedule, because conditions can shift quickly in the Middle Atlas and the best subjects on a wet day differ from what you would photograph in sunshine. Discuss your interest in rain conditions with your guide when booking, and ask them to include options that are specifically enhanced by overcast or wet light rather than compromised by it.