Understanding the Contrast Problem in Dense Woodland
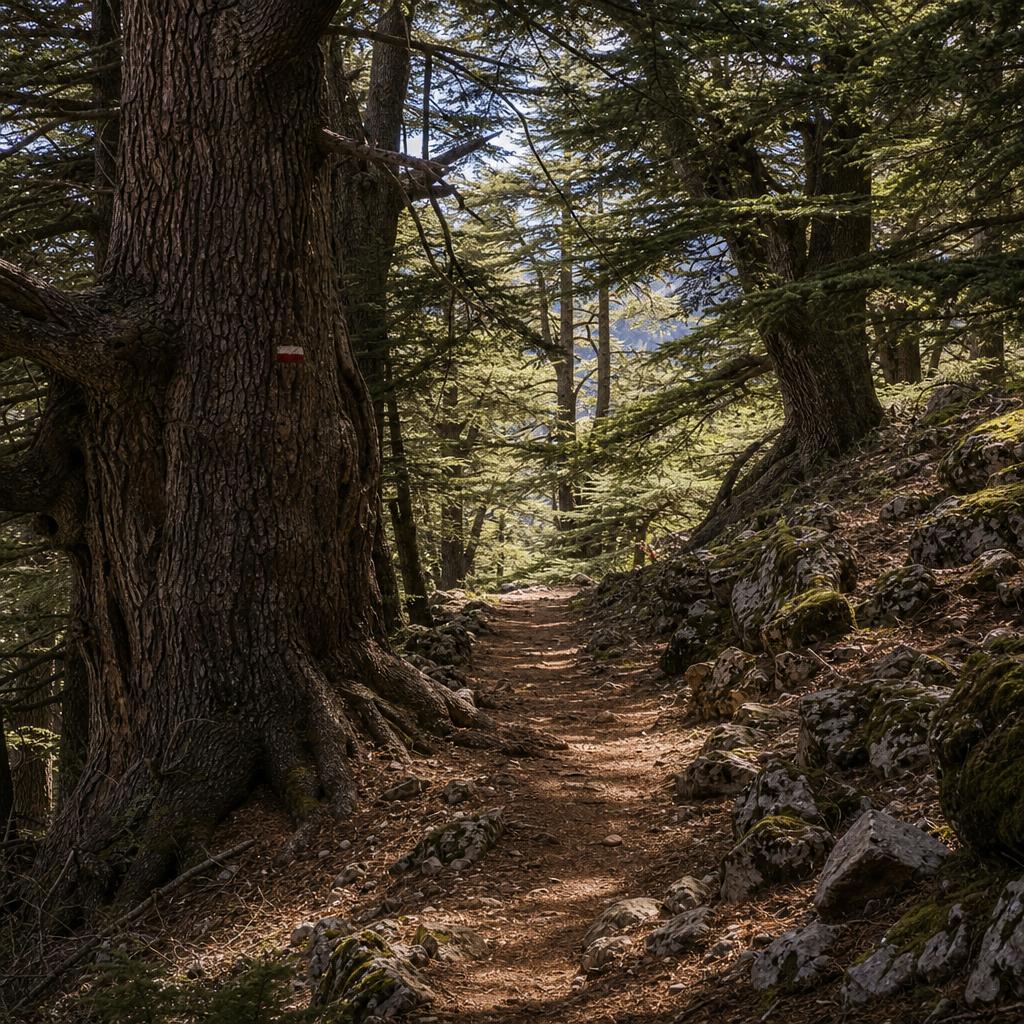
A camera sensor captures a narrower range of brightness than the human eye can see at once. Inside a cedar forest, the scene often includes deep shadow under the canopy, mid-toned bark and undergrowth, and bright sky through gaps — all in the same frame. When a camera's automatic exposure averages these zones, it often leaves sky patches blown out and shadows blocked. The result is the patchy, hard-to-read image that frustrates many forest photographers.
The most reliable approach is to decide, before you press the shutter, which zone you are metering for. If the trees and forest floor are your subject, expose for them and let the sky go bright — the blown patches become abstract shapes that add energy rather than distract. If you want sky detail, use exposure compensation to darken the frame and recover shadow detail later in editing. Neither approach is wrong; the mistake is letting the camera decide by default without thinking about the choice.
Managing Green: Colour and White Balance in Cedar Light
Cedar forest light has a heavy green cast because the canopy filters direct sunlight through millions of needles. Auto white balance handles this reasonably well on most modern cameras and phones, but it can produce varying results within a single walk as light conditions change. Setting a custom white balance or using the 'cloudy' or 'shade' preset consistently warms the image slightly, giving cedar bark a richer amber tone while keeping foliage a more natural green.
If your camera or phone supports it, reducing green saturation by a small amount in post-processing (rather than in-camera) gives you more flexibility. Forest greens can easily become oversaturated when you add contrast, so pulling the green and yellow channels back slightly before adding any vibrance usually produces a more balanced result. Keep a copy of the unedited version to compare — it is easy to over-correct in either direction when you are surrounded by green all day.
- Try 'cloudy' white balance preset to warm cedar bark tones
- Use spot metering to expose for your primary subject, not the whole scene
- Shoot raw (or the highest-quality format available) to retain latitude for editing
- Reduce green and yellow saturation slightly before adding contrast
- Review your histogram rather than the screen preview — screens lie outdoors
Long Exposure and Motion in Slow Forest Winds
When a breeze moves the cedar canopy, long exposures (half a second to several seconds) turn the upper branches into a soft, swirling blur that contrasts beautifully with the static trunks and ground below. This technique works especially well in overcast light, which diffuses the scene evenly and allows longer shutter speeds without overexposing. A tripod or stable surface is essential — even slight camera movement at one second will soften the trunks you want sharp.
To achieve the right shutter speed for intentional motion, use your camera's aperture priority mode and set ISO to its base value (typically 100 or 200). If the light is still too bright for a half-second exposure, a neutral density filter reduces the amount of light entering the lens without affecting colour. Phones do not easily support long exposures in bright conditions, but several camera apps allow manual shutter control and some include ND filter simulation — check what your specific phone model supports before the walk.
Practical Workflow: From the Forest to the Finished Image
Develop a consistent in-field habit: check your histogram after every two or three shots rather than after every single frame. Look for unwanted clipping at either end of the scale and adjust exposure compensation immediately. Take time to stop and observe a scene for thirty seconds before raising the camera — the most interesting compositions in a forest are often found by being still long enough to notice foreground elements, depth layers and the geometry of trunks.
In post-processing, the most common edits for cedar forest images are lifting shadow detail, reducing highlights, adding a slight warm tint to the midtones, and a modest sharpening pass on the bark textures. Resist the temptation to push local contrast (clarity or texture sliders) too hard — this brings out bark detail well, but it also accentuates sensor noise in the deep shadows. A light touch usually produces a more natural and printable result.