Knowing Your Phone's Actual Strengths in Forest Conditions
Smartphone cameras have improved dramatically over the past five years, but they still have a fundamentally small sensor. In bright, even light — an overcast day in the cedar forest, or open mountain views — a recent flagship phone produces excellent results. In low light, such as the pre-dawn forest or deep shade under the canopy, phones introduce more noise than a dedicated camera with a larger sensor, and their stabilisation systems strain at slower shutter speeds. Understanding this before your walk sets realistic expectations.
The computational photography features of modern phones — HDR processing, night mode, portrait blur simulation — are genuine assets but not magic fixes. HDR processing works well for forest scenes with mixed bright and dark zones, but it can introduce an artificial, slightly painted quality if the light changes between the multiple exposures it captures. Disable HDR when shooting fast-moving subjects like macaques, and re-enable it for static forest compositions where the extra tonal range is genuinely useful.
Composition Habits That Improve Every Forest Shot
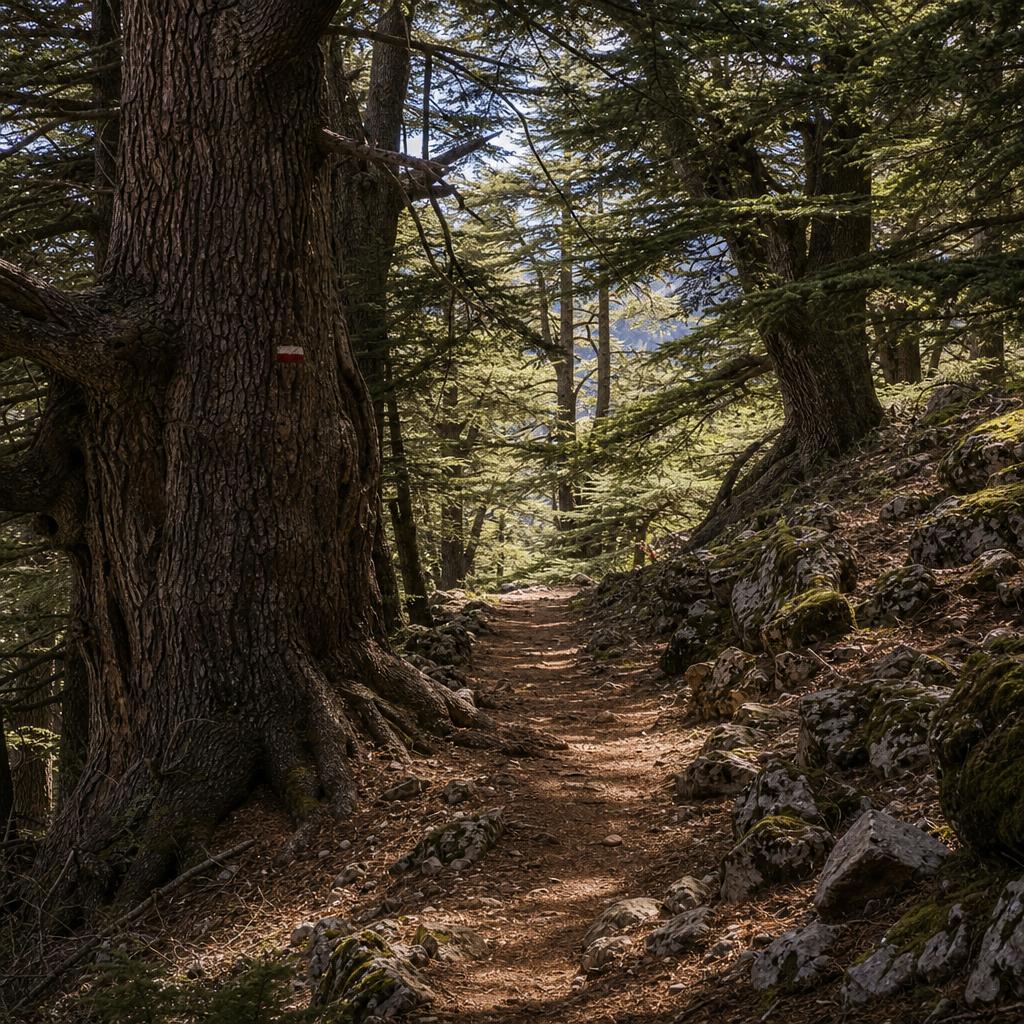
Good composition improves phone photography more than any camera upgrade. In a cedar forest, the most effective compositional tools are leading lines (a path, a row of trunks, a stream bed), framing (a gap between two large cedars creating a window onto a background), and scale (a person or animal in the frame to show how enormous the oldest trees actually are). Before photographing any scene, pause and ask which of these you can use — then move your body position until the element is placed usefully in the frame.
Vertical orientation suits tall cedar trunks and works well for portrait-format sharing. Horizontal orientation suits mountain panoramas and wider forest scenes. Switch between them deliberately rather than defaulting to one. Avoid centring your main subject unless you have a strong geometric reason — off-centre placement with the rule of thirds as a rough guide tends to produce more dynamic forest images. The phone grid overlay (enabled in most camera settings) makes this easy to apply consistently.
- Clean your lens before every shooting session — a fingerprint costs you more than any camera upgrade
- Use the two-finger zoom only as a last resort; physically move closer instead
- Lock focus and exposure separately for forest scenes with mixed light
- Enable the grid overlay to support rule-of-thirds composition
- Switch off live filters while shooting — apply them selectively in editing
Practical Approach for Wildlife and Moving Subjects
The biggest challenge with phone wildlife photography is shutter lag and tracking. Most phones have a burst mode — hold the shutter button for a rapid sequence of frames — which is useful for macaques in motion. After the burst, delete the weak frames immediately rather than carrying hundreds of similar shots. The one or two frames where the animal's posture is clear and its eyes are sharp are worth keeping; the rest take up storage and make post-trip editing tedious.
Phone telephoto zoom modes have improved considerably, but long-range digital zoom degrades quality noticeably. If you want a frame-filling shot of a macaque, getting closer is often not an option for ethical and safety reasons — a clip-on telephoto lens attachment (2x or 3x magnification, widely available) can extend your reach without the quality loss of digital zoom. Even without attachments, a phone at respectful distance capturing a macaque in its natural context tells a stronger story than a heavily cropped and pixelated close-up.
Editing Efficiently on Your Phone Before Leaving Azrou
The built-in editing tools on iOS and Android are more powerful than many travellers realise. For forest images, the most useful adjustments are: reduce highlights (recovering blown sky patches), lift shadows (opening up the dark canopy), add a slight warm shift to the temperature slider (improving cedar bark tones), and apply a small amount of sharpening to the trunk textures. Avoid adding vibrance or saturation aggressively — forest greens easily become neon.
Save the original copy before editing anything. Almost all phone editing tools work non-destructively, but confirming this habit means you can always return to your original. Export the finished version at full resolution. When sharing to social platforms, Instagram and WhatsApp compress images heavily — sharing via a direct link to your cloud storage or via a file transfer preserves quality for anyone who wants to view them at full size.